
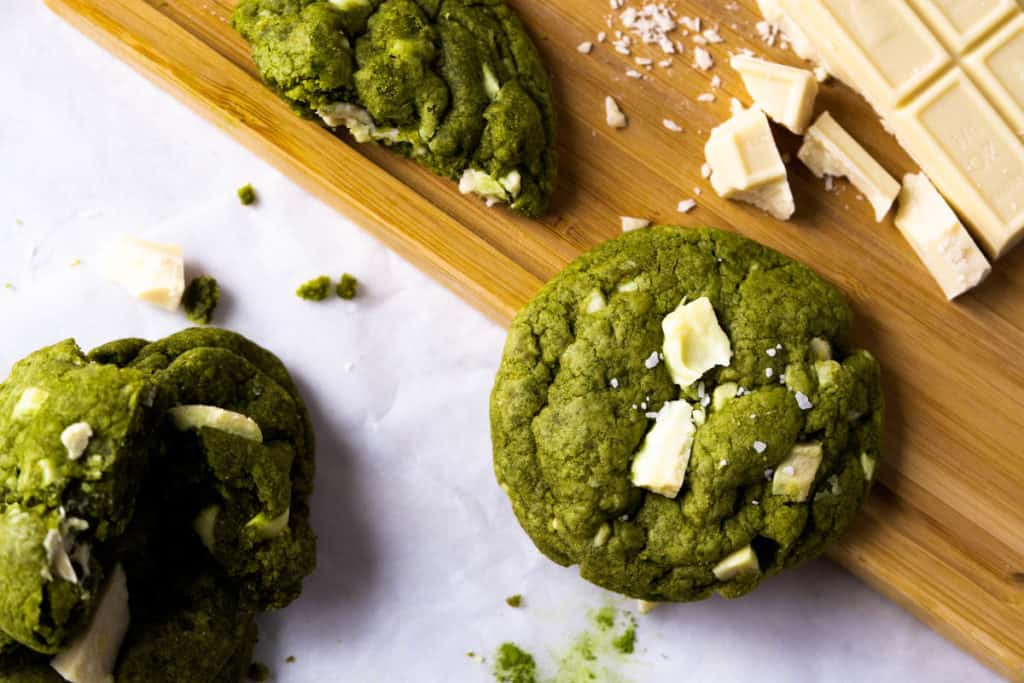
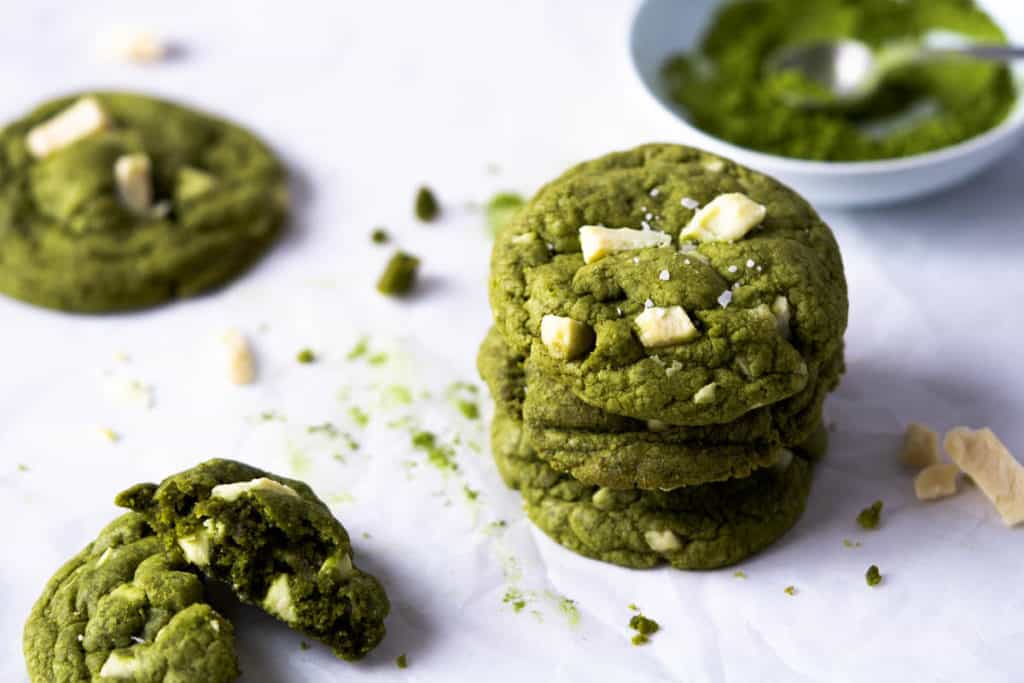
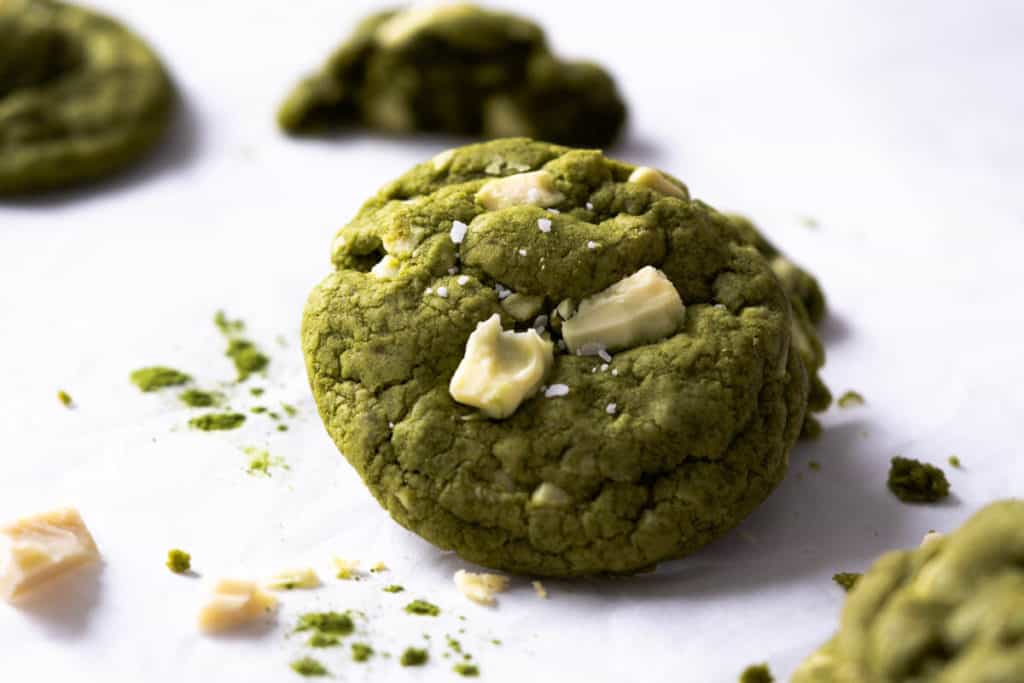
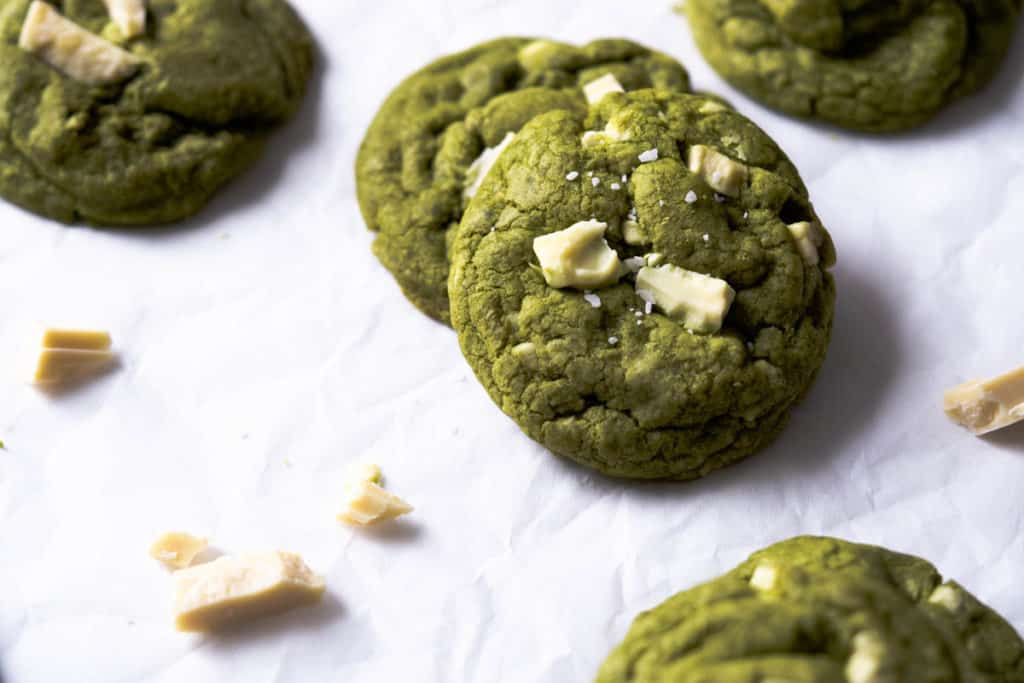
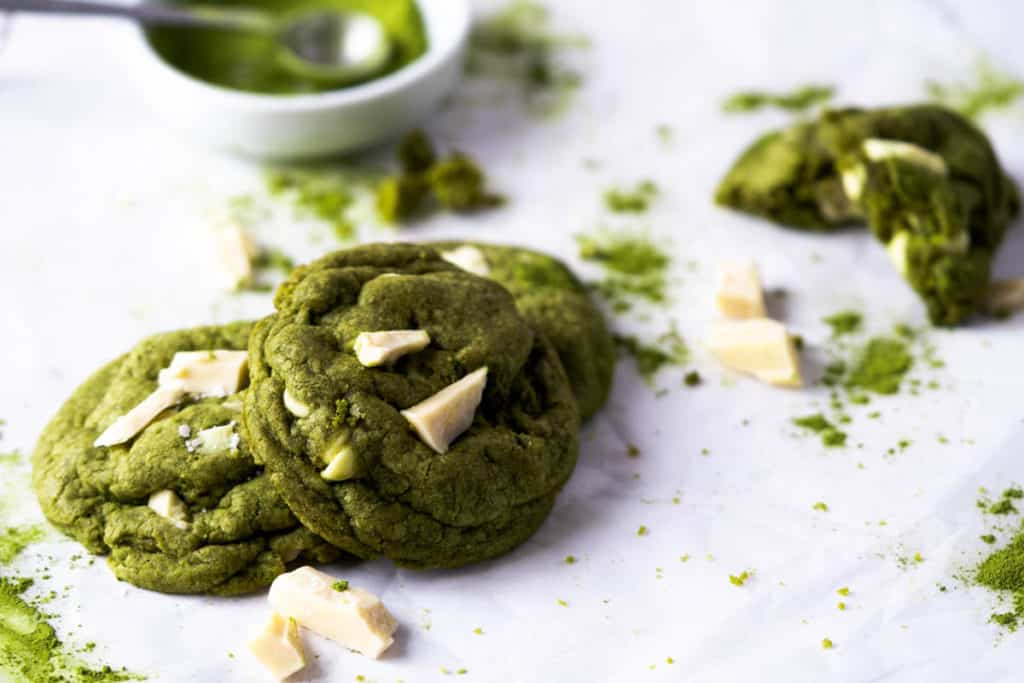
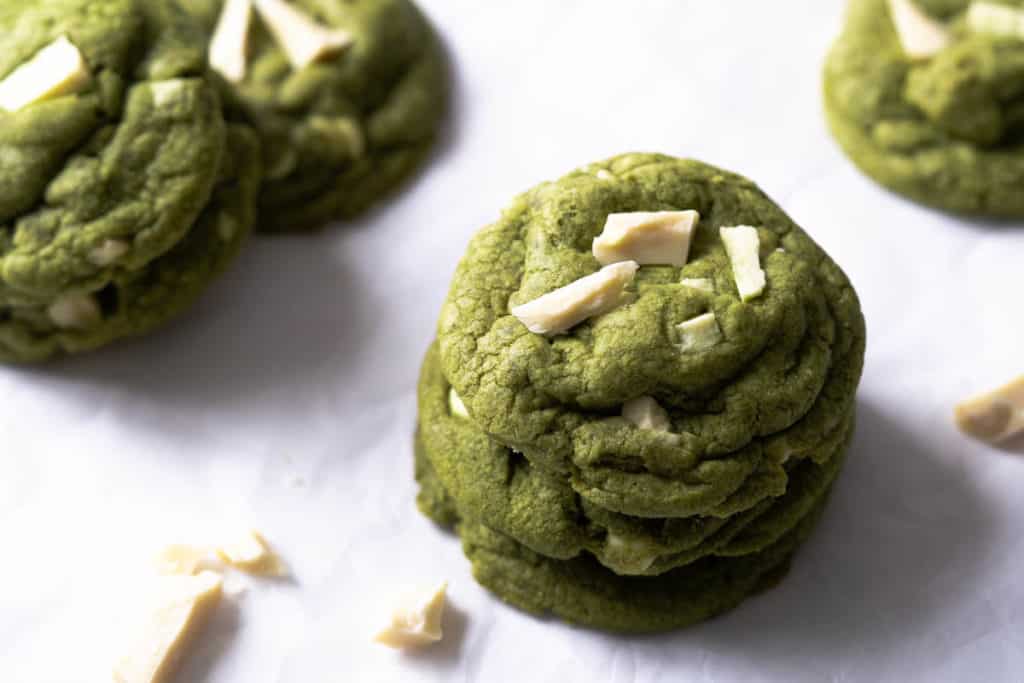
With crisp edges and thick soft middles, this matcha cookie recipe combines the perfect chocolate chip cookie with delicious matcha! If you love matcha, you’ll love these cookies! Melted butter and an extra egg yolk ensure a chewy texture with the nutritional antioxidant boost from matcha. Plus no need for a mixer!
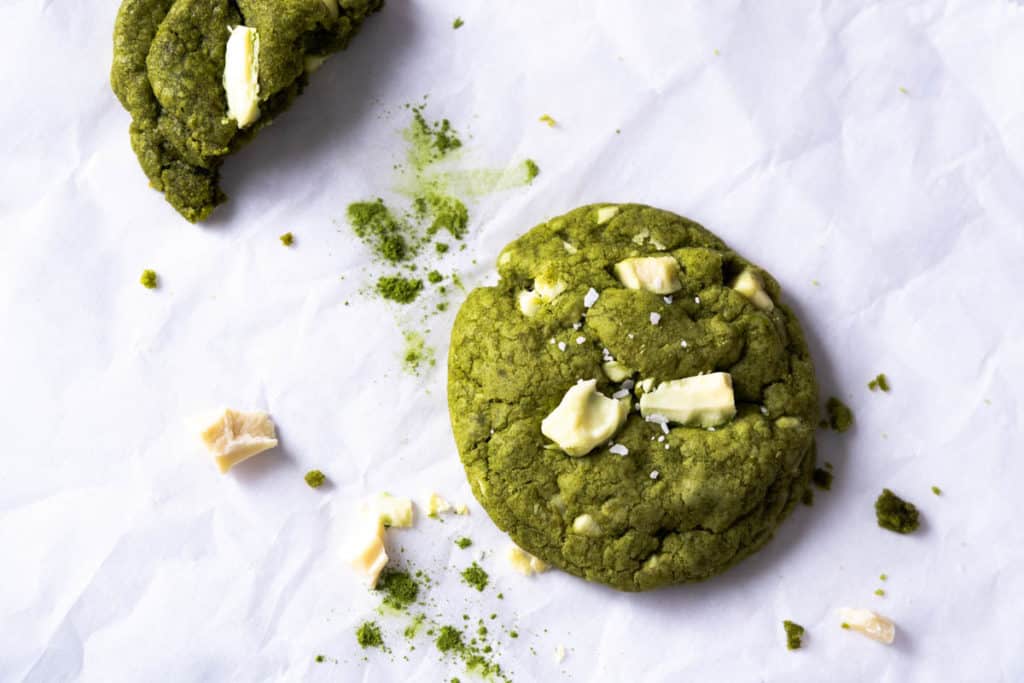
Cookies are always welcome any time any day at my house. Our family LOVES cookies and I’ve made enough cookies over the years to fill a swimming pool. I share a lot of my key cookie techniques and background science with you so you can make the BEST matcha cookies even if it’s your first time baking.
WARNING: This is a long post (a little labor of love) because I try to cover all the cookie topics and the WHY. You will definitely impress your family and friends with these batch of cookies 🙂
Ready to reach cookie perfection?!
- The best matcha cookies
- What is matcha?
- What does matcha taste like?
- Matcha cookie ingredients
- Why this matcha cookie recipe works
- How to Make Matcha Cookies – Step by Step Instructions
- Expert Tips for Making the Best Soft and Chewy Matcha Cookies
- Freezing and Storing Instructions
- Time Saving Tips
- Substitutions/Variations
- FAQ and Troubleshooting Tips
The best matcha cookies
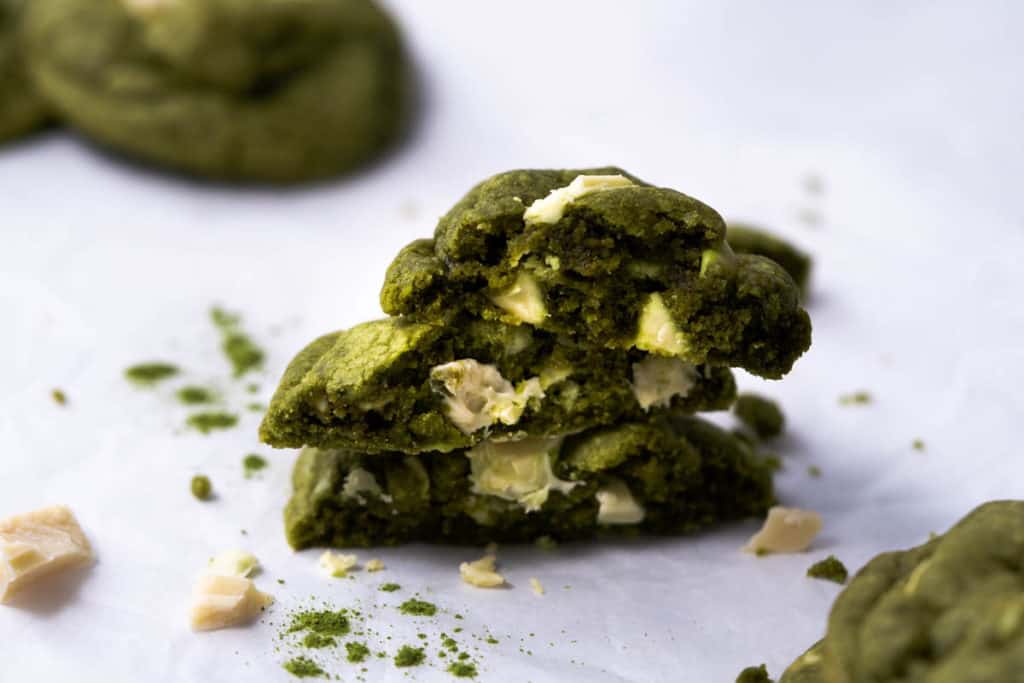
These are the best matcha chocolate chip cookies because it gives great matcha flavor but has all the qualities of a chewy chocolate chip cookie. I know the definition of a perfect cookie is up for hot debate, but personally, this recipe ticks off all my boxes:
- easy to make – you can use an electric stand mixer or just a hand whisk
- crispy edges
- thick, chewy moist interior
- stays soft for days
So after many test runs and tweaks, I’m happy to finally share the perfect matcha cookie recipe with you. This recipe is based on Sally’s Baking Addiction’s (love her!) and the knowledge from Cooks Illustrated about the perfect chocolate chip cookie. I leveraged the properties but made tweaks to let the matcha flavor shine through.
What is matcha?
Matcha is finely ground powder of specially grown green tea leaves. The green tea plants are grown in shade for three to four weeks before harvest. This ends up increasing chlorophyll production and boosts the amino acid content giving the plant a darker green hue. This is why matcha powder has a beautiful bright green color that makes lattes, tea and baked goods look so irresistible!
What does matcha taste like?
Matcha has a grassy, earthy, slightly bitter taste. It adds a level of depth and complexity especially in sweet treats which is why it works well in baked goods and desserts!
Matcha cookie ingredients
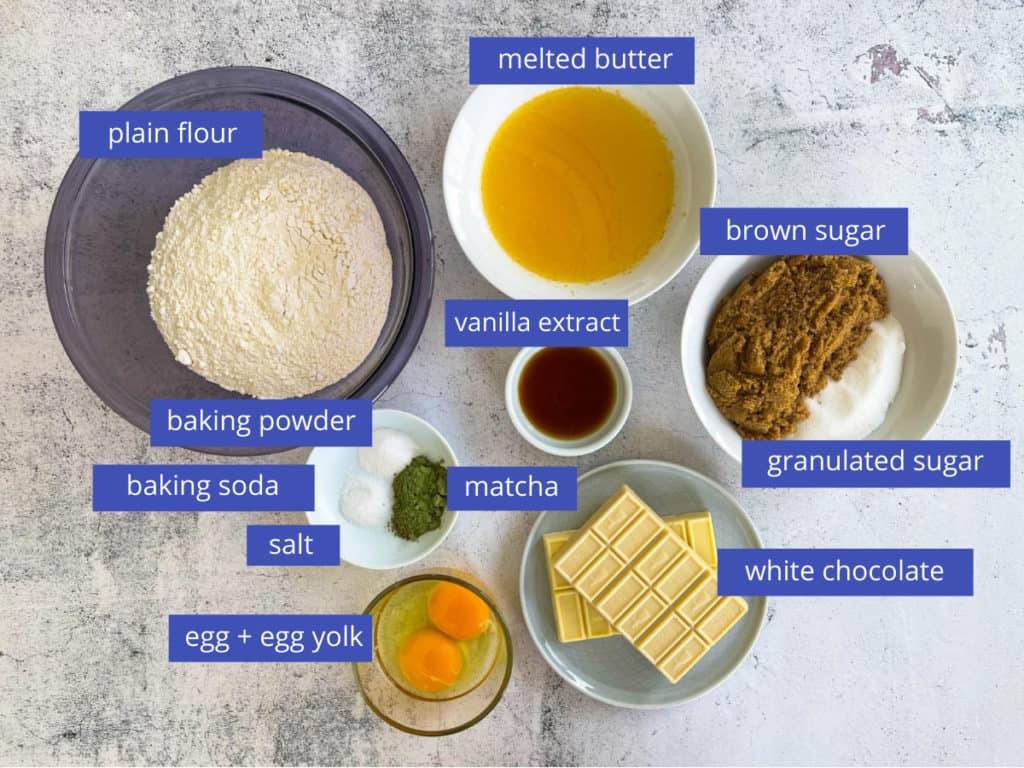
These matcha cookies use basic ingredients found in most cookie recipes but it’s the combination and technique that makes all the difference. As a cookie nerd, proportions mean everything and can make or break a cookie (a little dramatic but I am passionate about cookies!)
Matcha powder
I use 2 full tablespoons of matcha powder to make the flavor stand out – I wanted it to be the first thing you tasted. For a more subtle flavor, feel free to reduce the matcha powder to 1.5 tablespoons.
Baking soda AND baking Powder
I use both in this recipe for lift. I like using a bit of baking powder in my cookie recipes because they offer a more puffed soft center reminiscent of bakery-style cookies.
Melted butter
Melted butter creates that lovely chewy texture that creamed butter doesn’t. The downside is it can leave your cookie a bit greasy. To balance out, this recipe uses more flour to soak up the extra moisture and increase chewiness. Some recipes use brown butter for more flavor but I found it competed with the matcha flavor. Don’t get me wrong, I love brown butter cookies but it distracts from the lovely delicate green tea flavor. So I ended up with just melted butter, saving the extra work of browning it!
Equal amounts of brown and white Sugar
Brown sugar is key to a moister cookie, gluten development for chew and strong butterscotch flavors. This is why most chewy chocolate chip cookies use more brown than white. White sugar is still needed for spread and tenderness. I use equal portions of brown and white sugar here to give less butterscotch and more matcha flavors without comprising chewiness.
Extra egg yolk
Adding an extra egg yolk increases more egg protein coagulation producing a thicker and more chewy cookie.
White chocolate
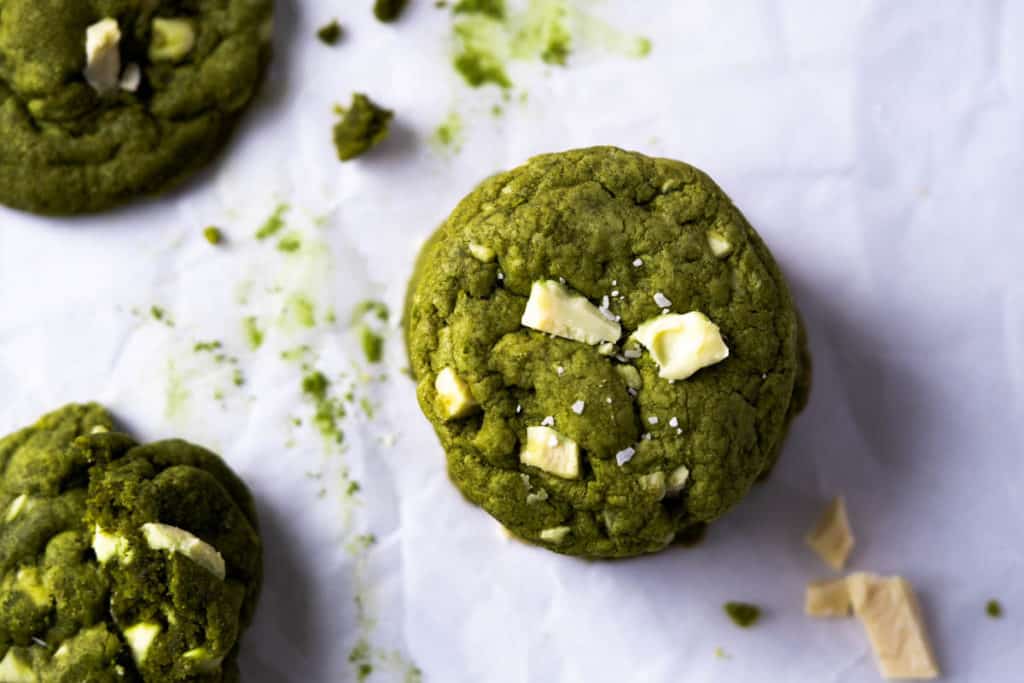
Matcha is delicate and creamy white chocolate pairs better than milk or dark chocolate. My first attempt at developing this recipe was to add matcha powder to my favourite chocolate chip cookie recipe and call it a day (here’s to hoping!). This, unfortunately, created an overly sweet cookie IMO. This is why this recipe uses less sugar to balance out the sweetness but without losing out on chewy texture. Chopped white chocolate or chocolate chips both work great in this recipe! Just make sure it’s good quality chocolate like Hershey’s, Ghirardelli or Baker’s.
Why this matcha cookie recipe works
Using baking science, the best way to achieve chewy soft matcha cookies is:
- Adding an extra egg yolk maximizes chewiness.
- Using melted butter (and slightly more flour) increases chewiness and creates crisp edges.
- Brown sugar for chew and granulated sugar for tenderness.
- Rolling the cookie dough into balls makes them bake thick and soft. Make them taller and less wide for an even thicker center.
- Chilling and resting the dough results in a thicker softer cookie.
- Using both baking soda and baking powder creates a soft underbaked center.
How to Make Matcha Cookies – Step by Step Instructions
Equipment
You don’t need much to make these cookies. A few bowls, a whisk, a silicone spatula, measuring cups and spoons. You can use an electric mixer or hand whisk, but since this recipe uses melted butter, we’re not aerating the batter and so you can mix everything by hand.
I do strongly suggest using a kitchen scale (if you have one) to weigh your ingredients because it ensures the most consistent results.
Light colored baking trays lined with parchment or silicone mats are essential for evenly baked cookies.
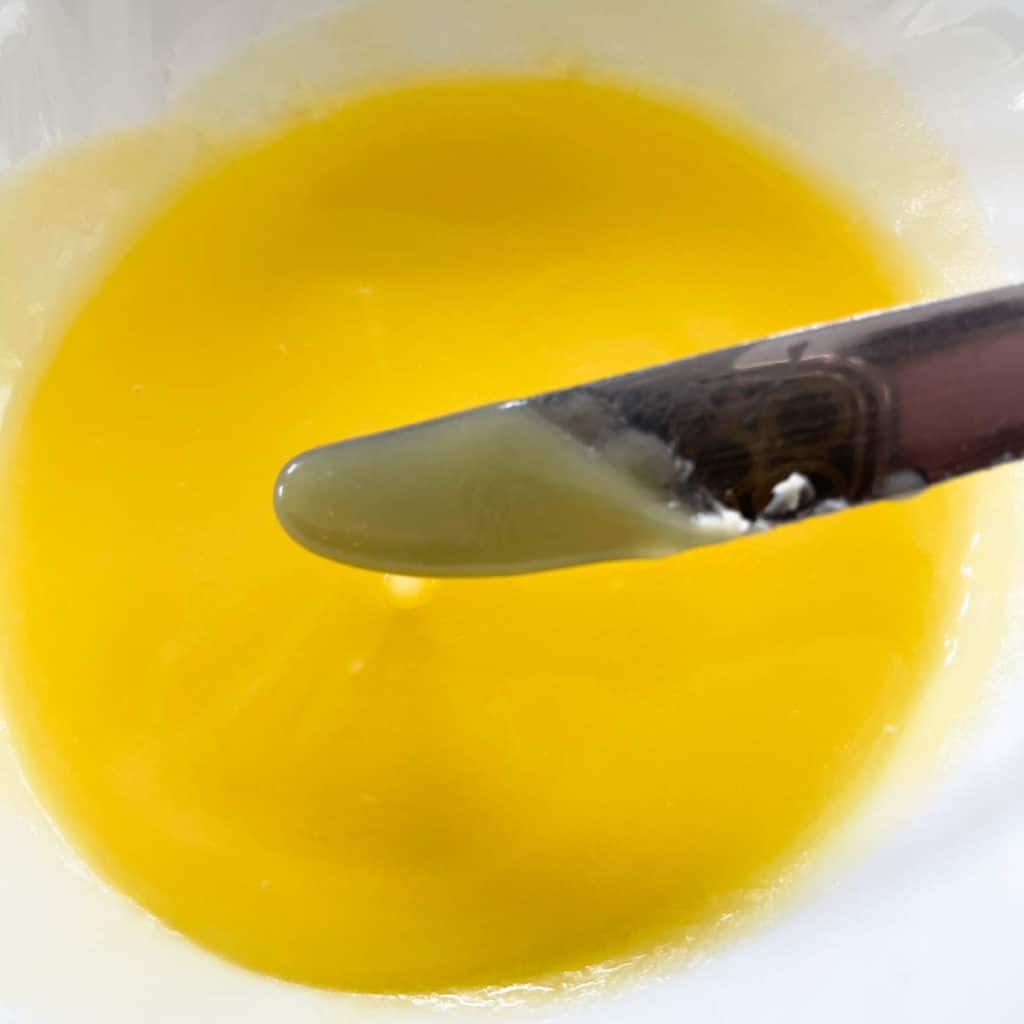
Prepare Your Butter and Eggs
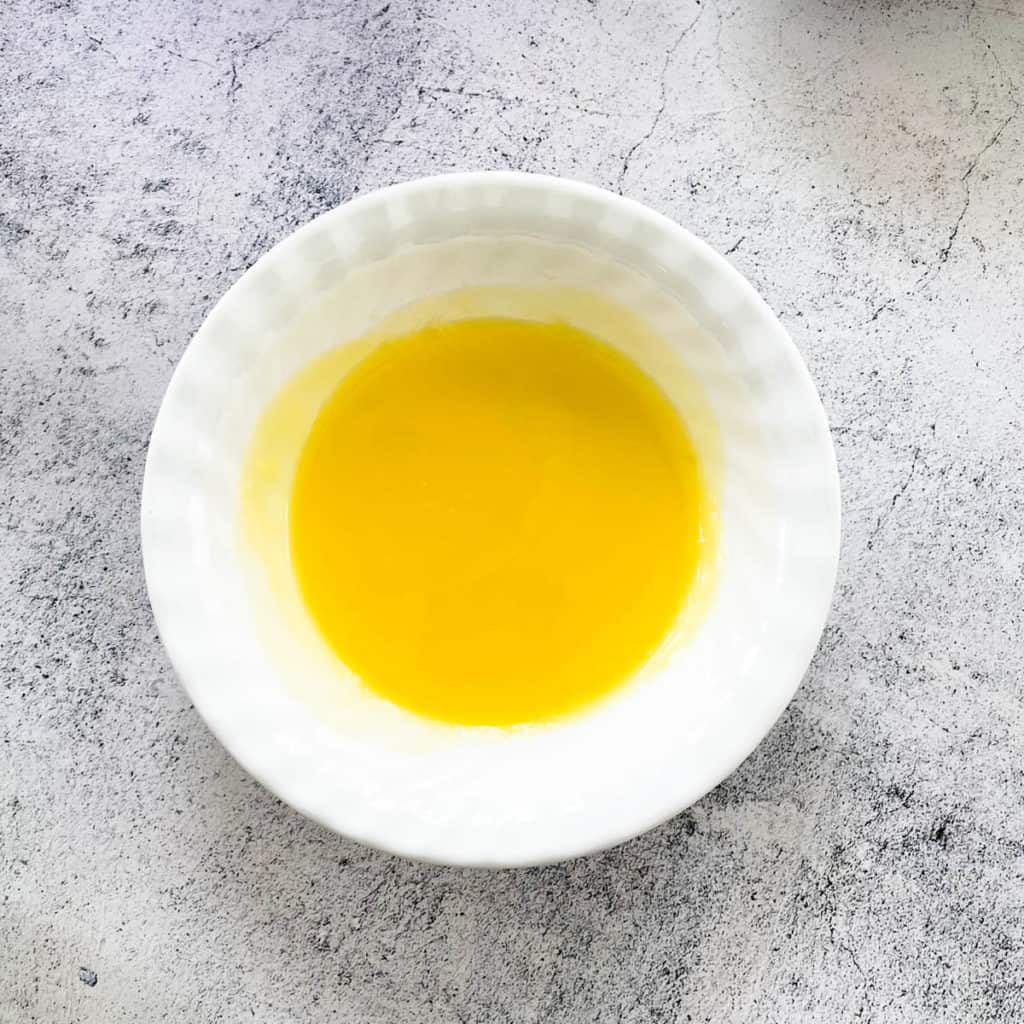
Step 1: On the stovetop or microwave-safe bowl, melt your butter. Set aside to cool to room temperature. Your butter shouldn’t be hot and runny but coats a butter knife nicely. See pics.
Step 2: Whisk your large egg and egg yolk (at room temperature) together and set aside.
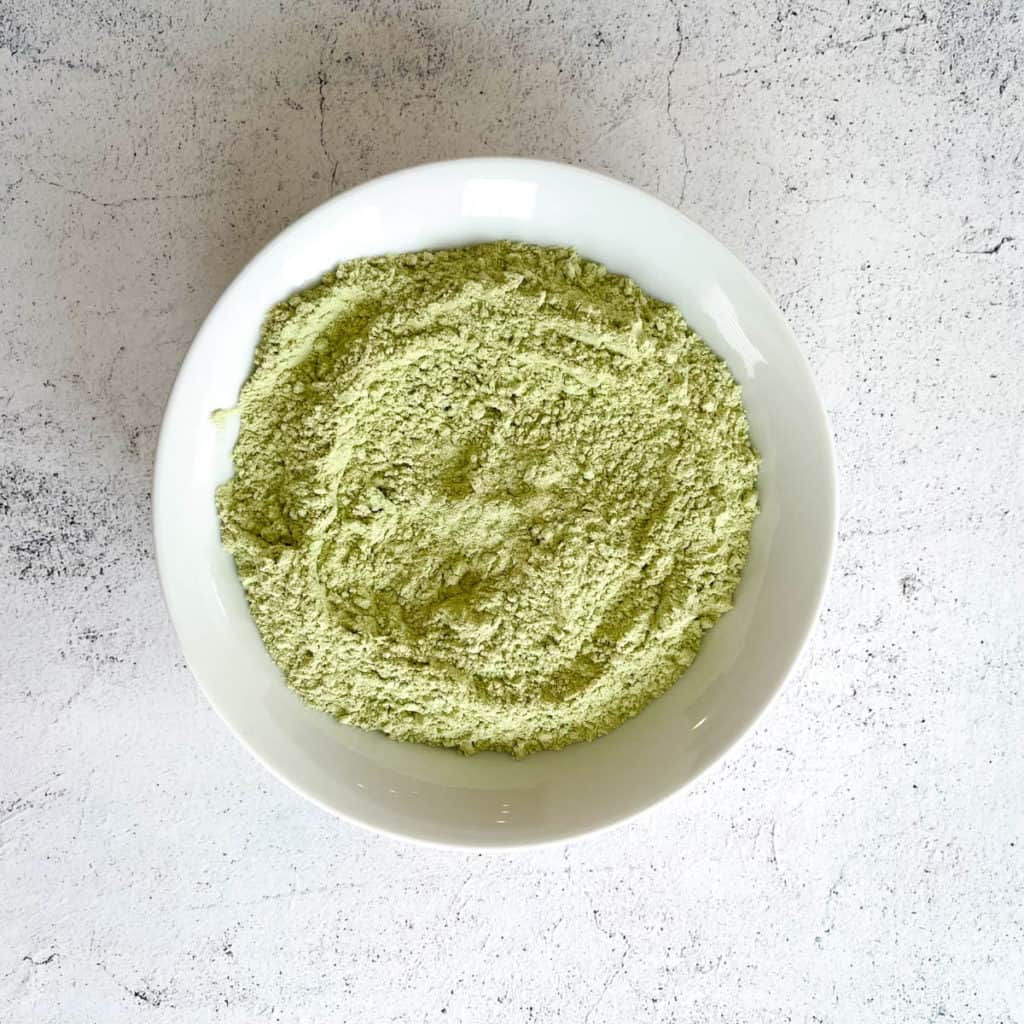
Mix your dry ingredients together
Step 1: Measure your flour (using the spoon and scrape method – see Expert Tips) in a medium bowl.
Step 2: Whisk in matcha powder, salt, baking soda and baking powder. Make sure all ingredients are mixed well with no lumps.
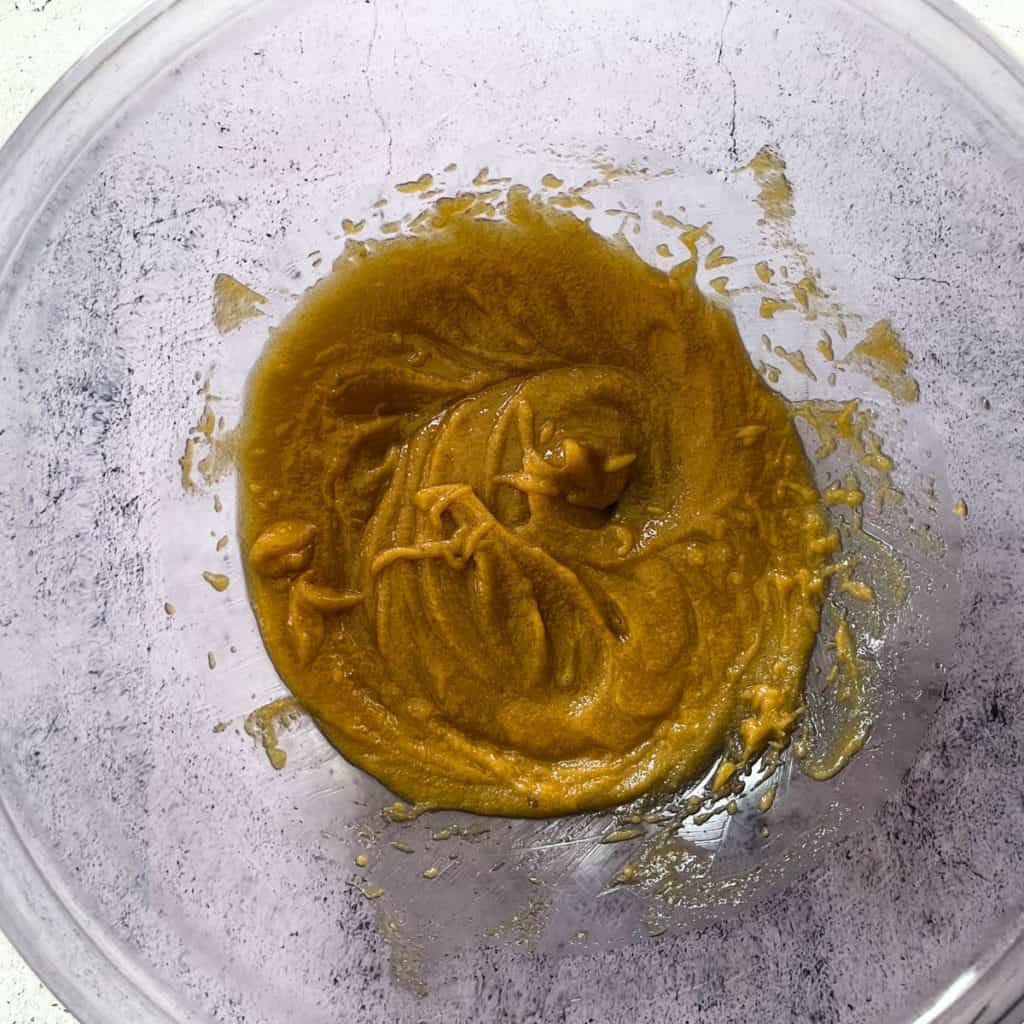
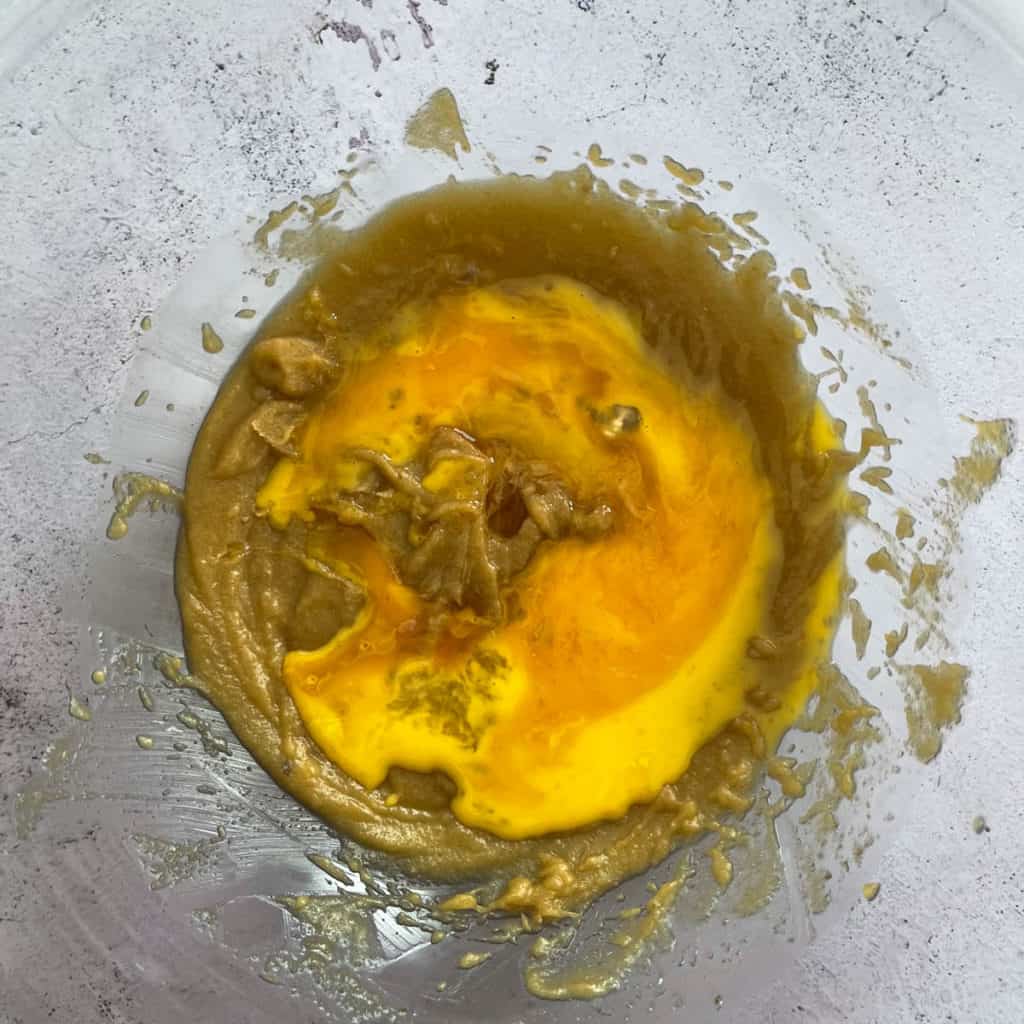
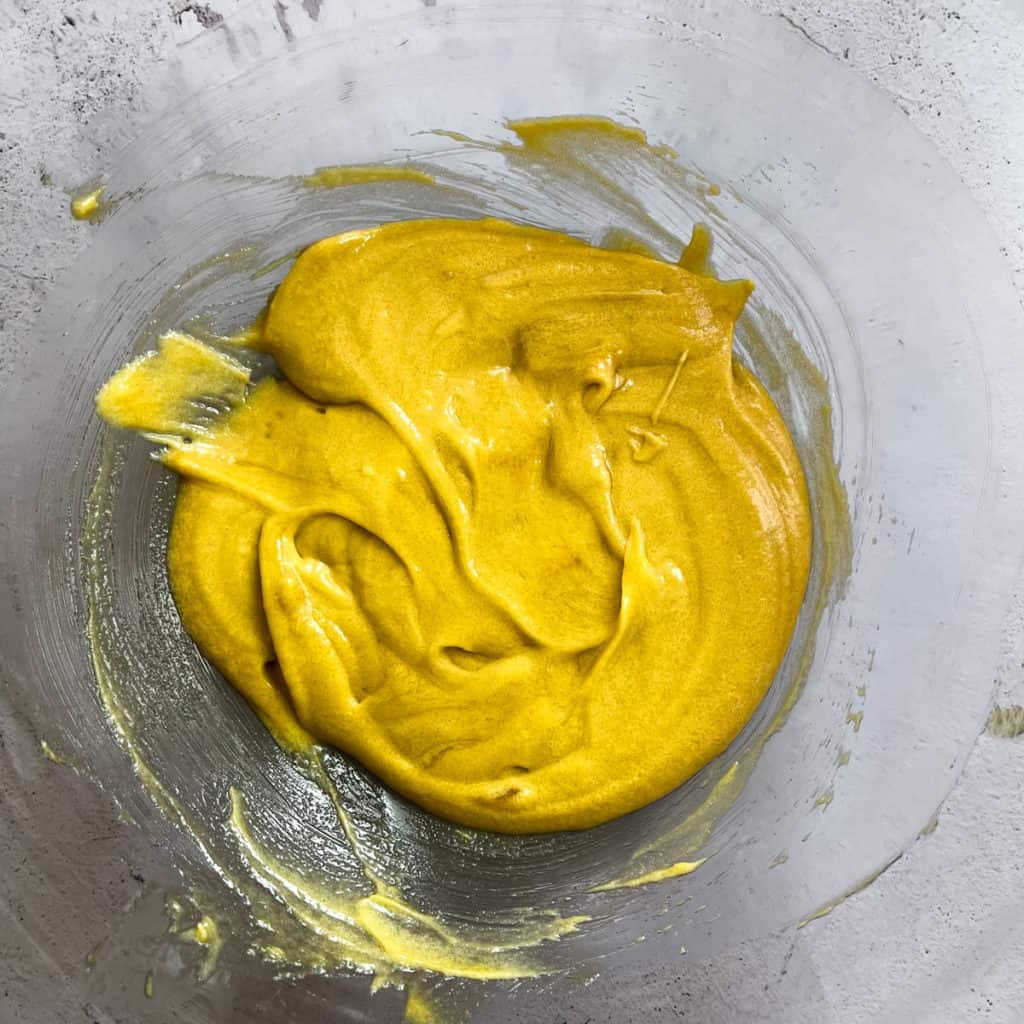
Mix your wet ingredients together
Step 1: In a separate large mixing bowl, combine melted butter, white and brown sugars and whisk until smooth and creamy. It should change a little lighter in color – about 2 minutes.
Step 2: Let the butter and sugar sit together for about 5 minutes for better absorption.
Step 3: Add the whisked egg and egg yolk and vanilla extract. Whisk thoroughly for 2-3 minutes. The mixture will be light, smooth and glossy.
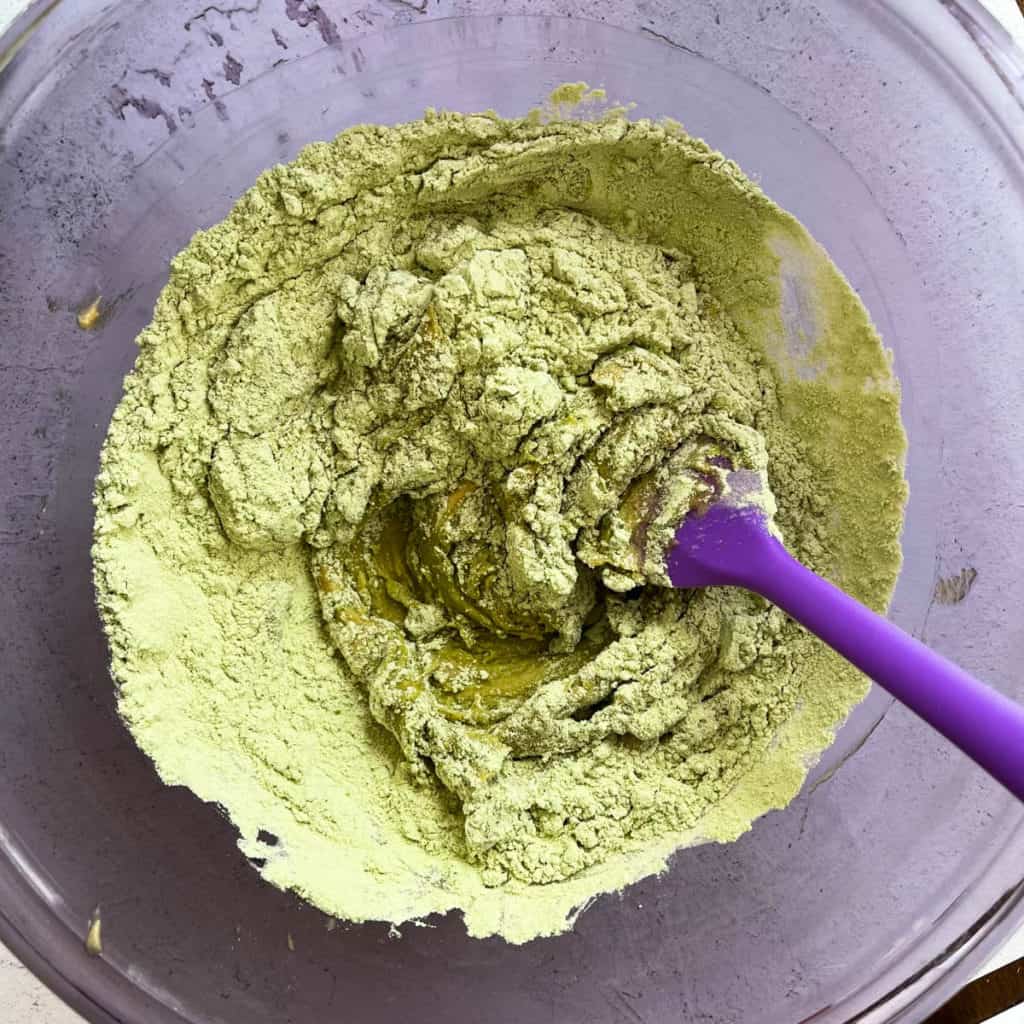
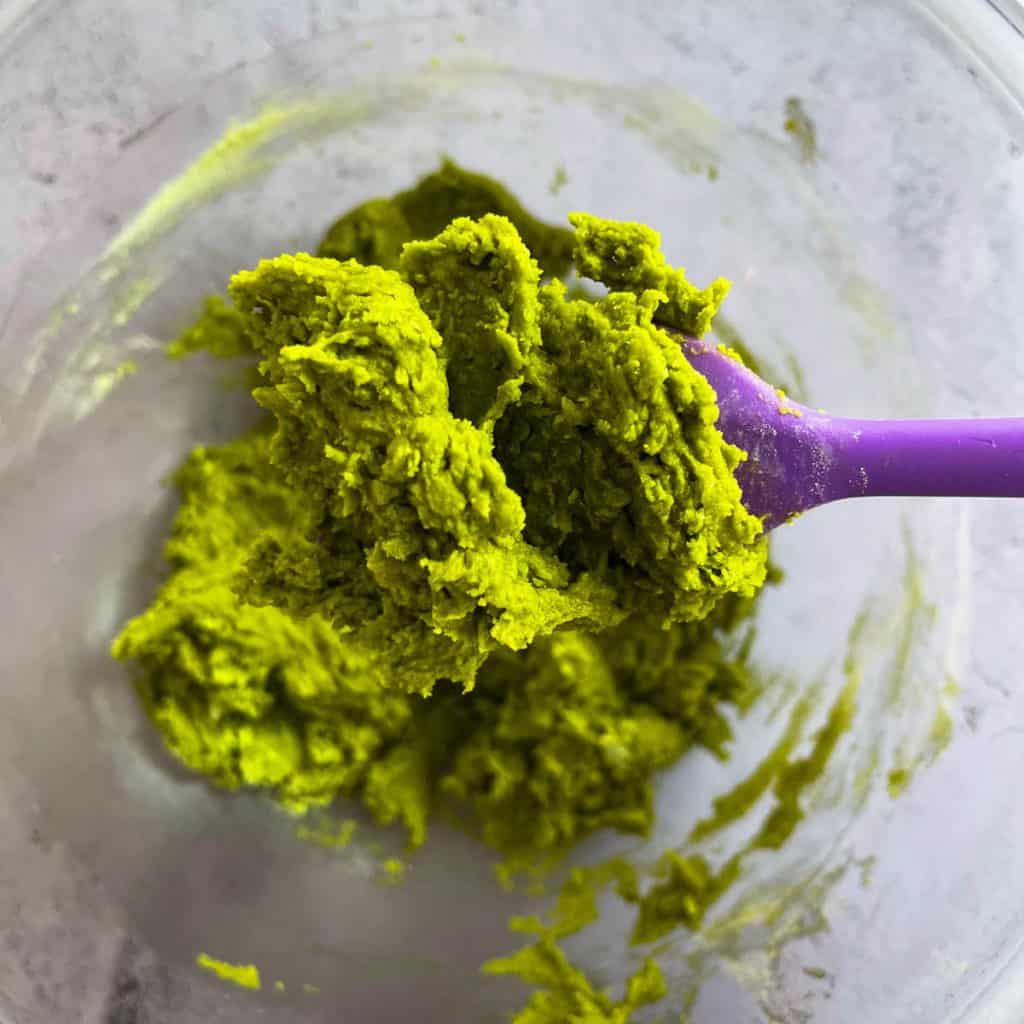
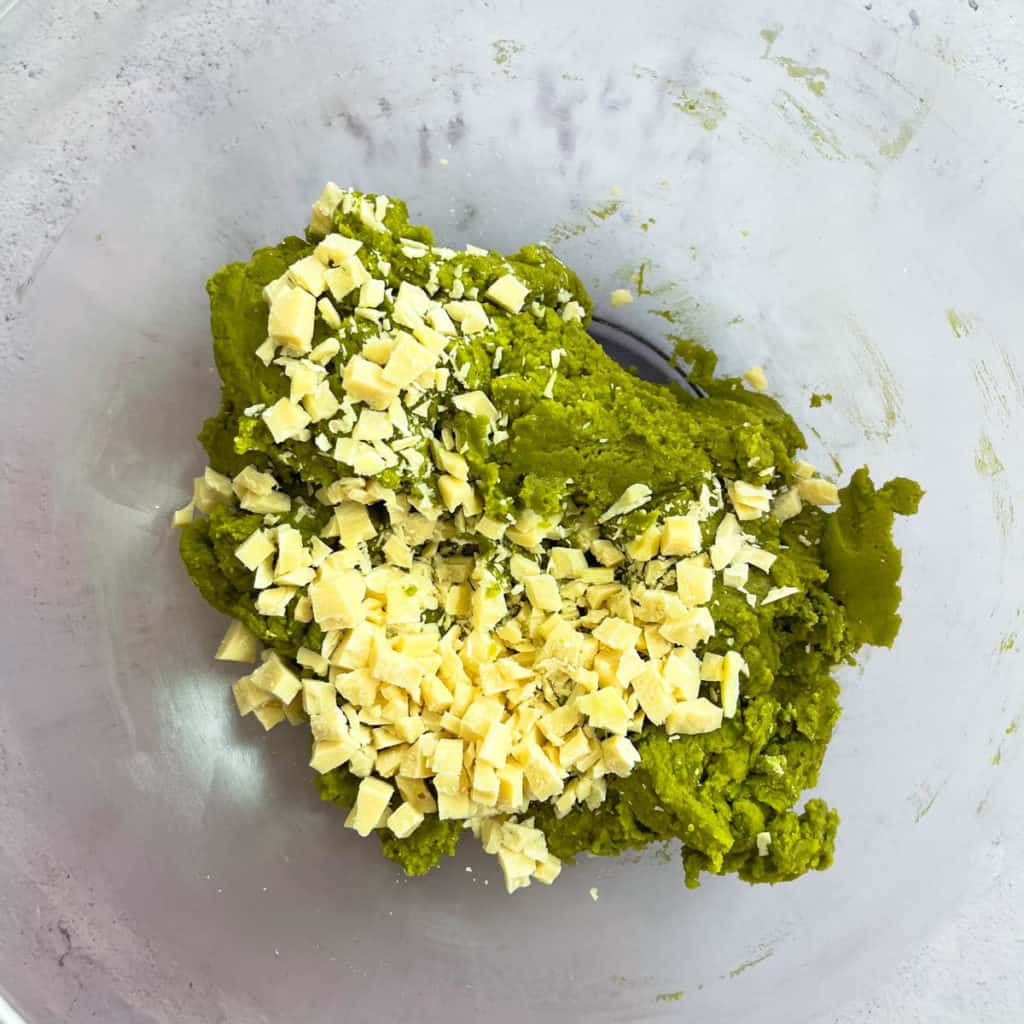
Combine and chill your dough
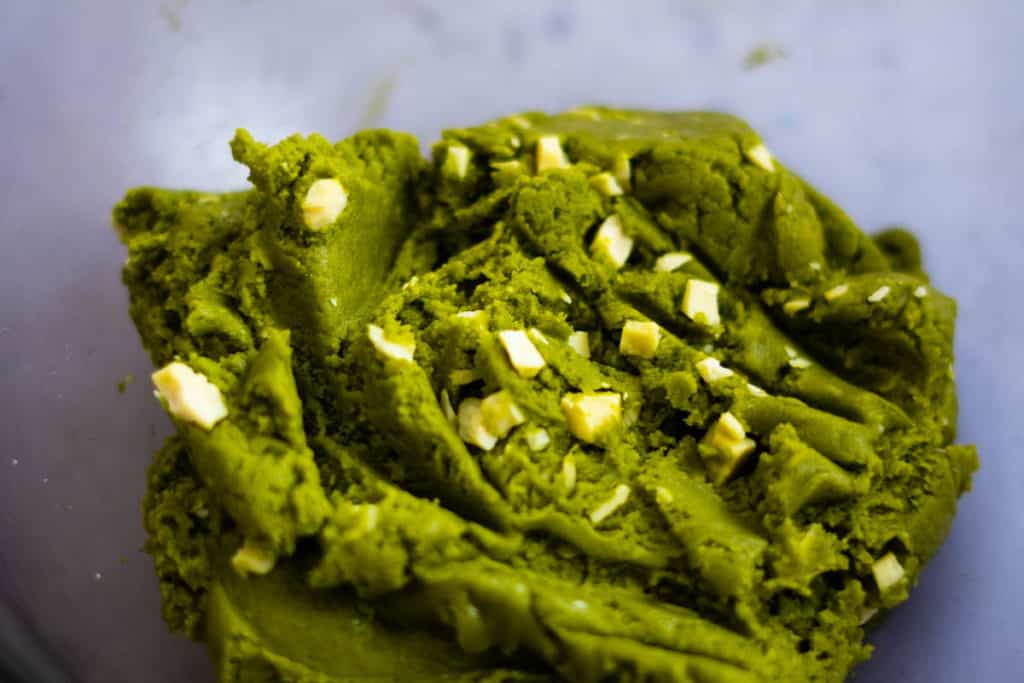
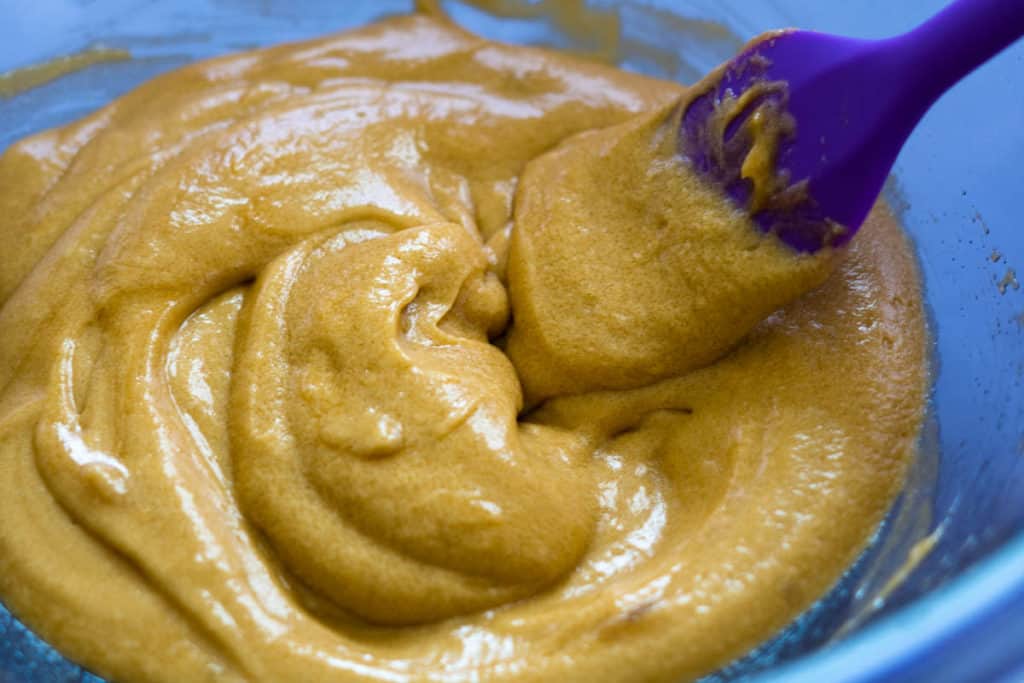
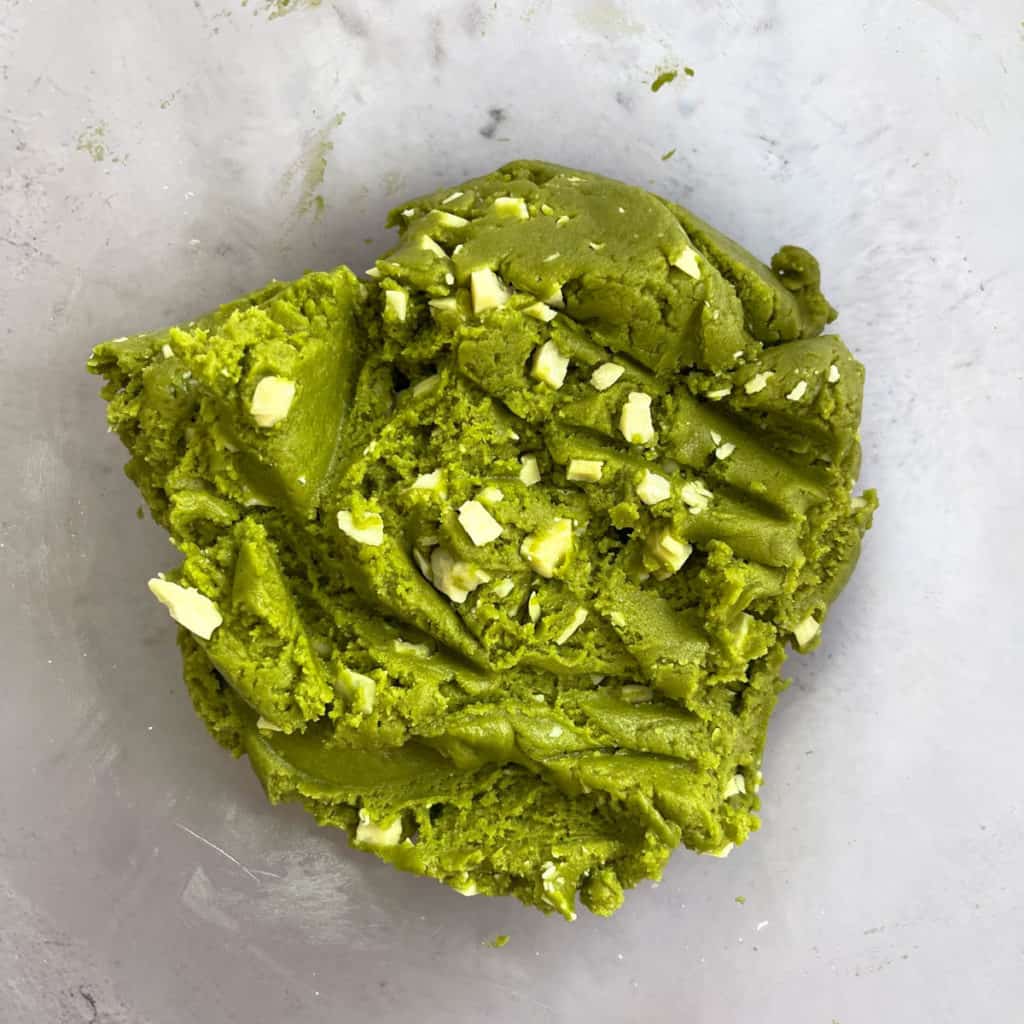
Step 1: Combine your dry flour mixture into your large bowl of wet ingredients. I like to do this in two rounds to avoid overmixing. Fold the ingredients gently together using your spatula and make round sweeping motions towards the center. The dough forms to be a bright green color, soft and sticky (like playdoh but stickier).
Step 2: Stir in the chopped white chocolate chunks or chocolate chips.
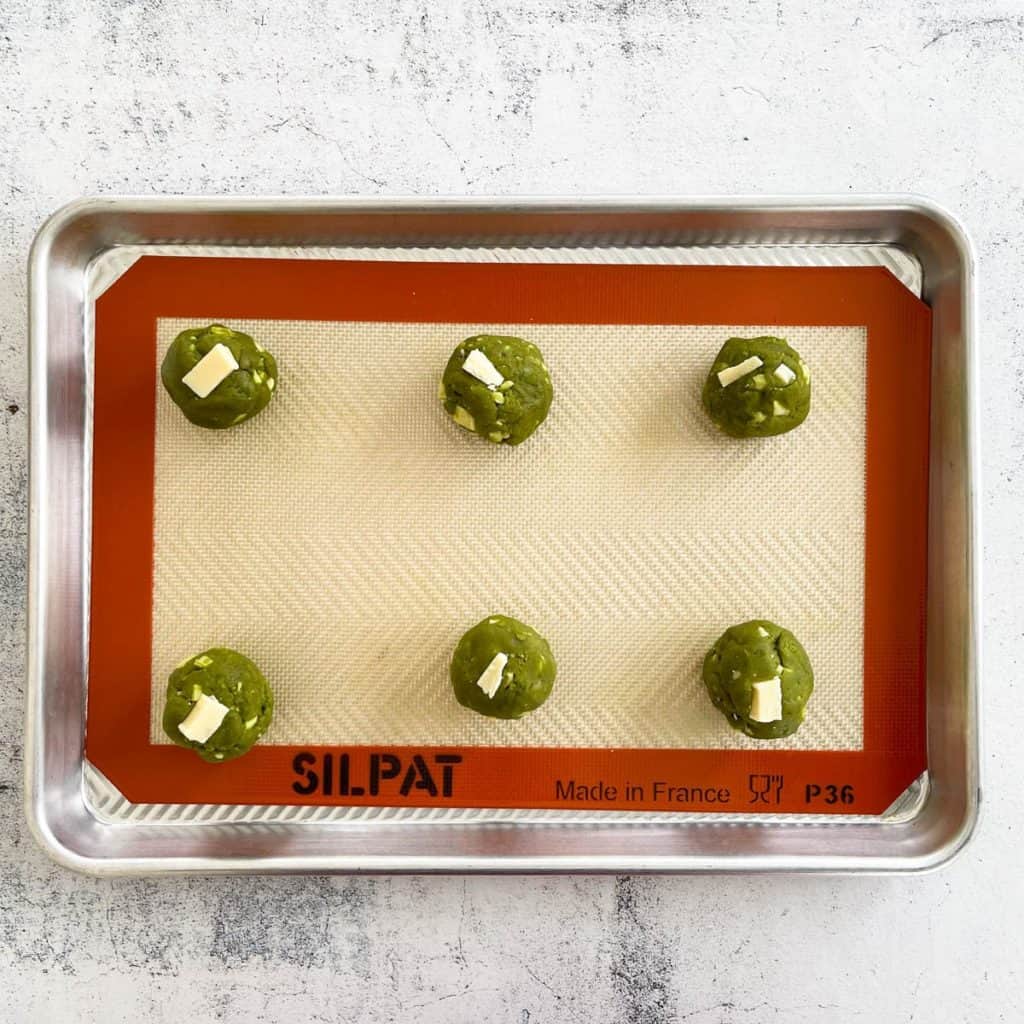
Step 3: Cover your bowl and place it in the fridge to chill for 2-3 hours or overnight.
Roll your cookies into balls
Step 1: Preheat your oven to 325 °F (165 °C).
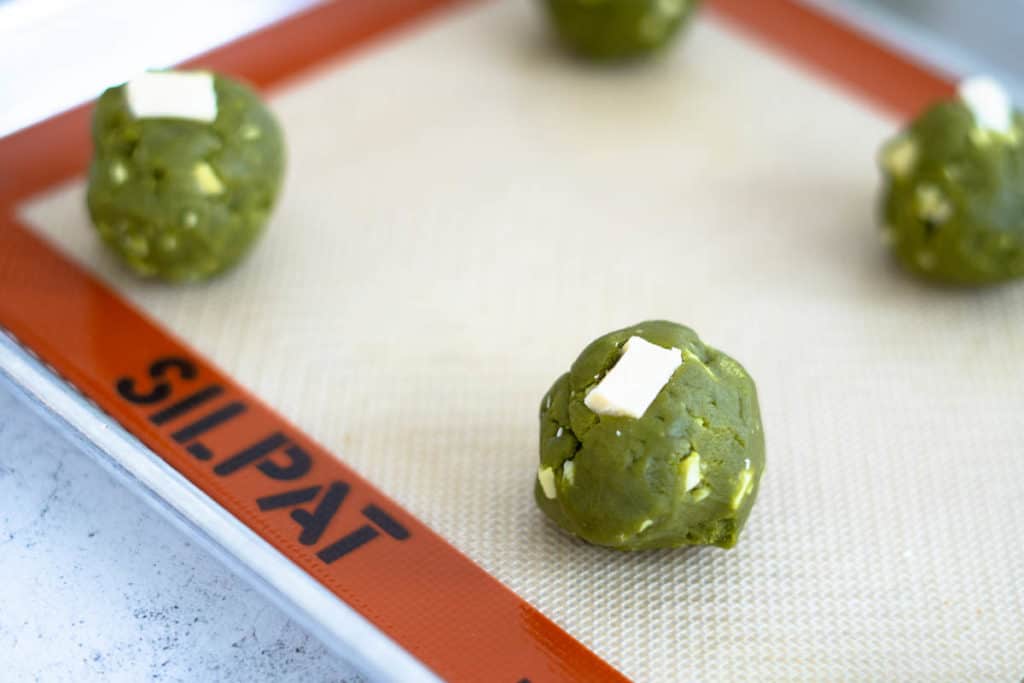
Step 2: Take out your batter from the fridge and roll it into 16 equal cookie dough balls (cookie scoop optional – I usually just use a regular spoon). Each dough ball should take 2.5 Tbsp (55 – 60 g) of dough or 1.75” – 2” wide. If the dough is chilled overnight, it will be hard so place it on your counter for 10 minutes to warm up. The warmth from your hands will soften up the cookie dough.
Step 3: Place the balls of cookie dough on a light-colored baking tray lined with parchment or silicone baking mats (preferred). Place them 2 inches apart.
Bake your cookies
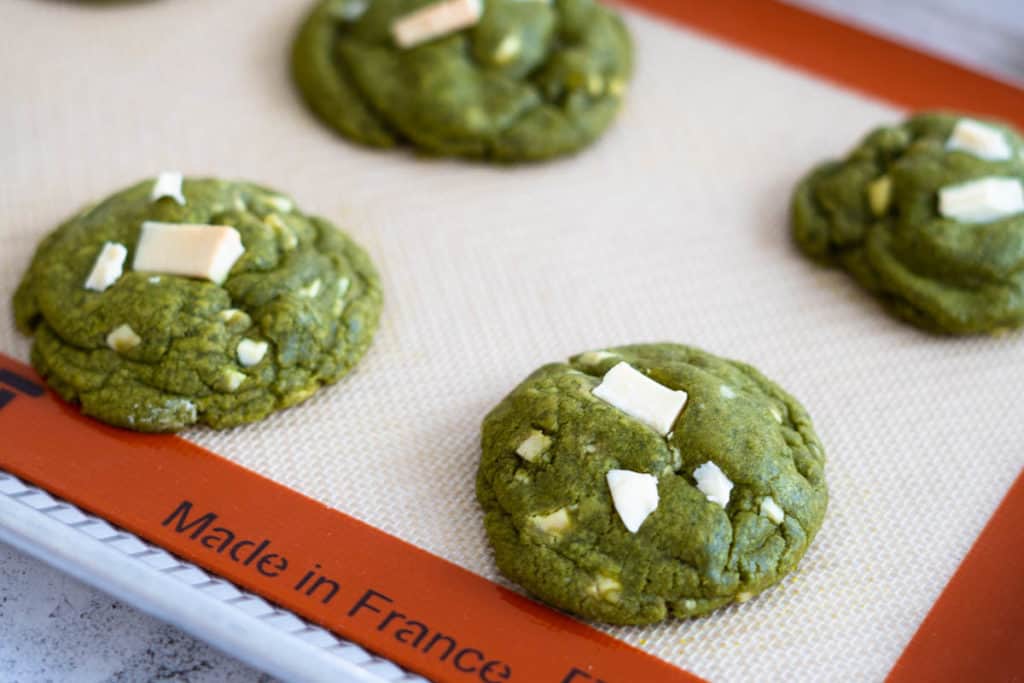
Step 1: Place your baking tray in the preheated oven and bake cookies for 10-12 minutes or until the edges are lightly browned but the centers are still soft. If you’re using two baking sheets and they both cannot fit in the middle rack, place them on the top and bottom ⅓ of your oven and rotate halfway through.
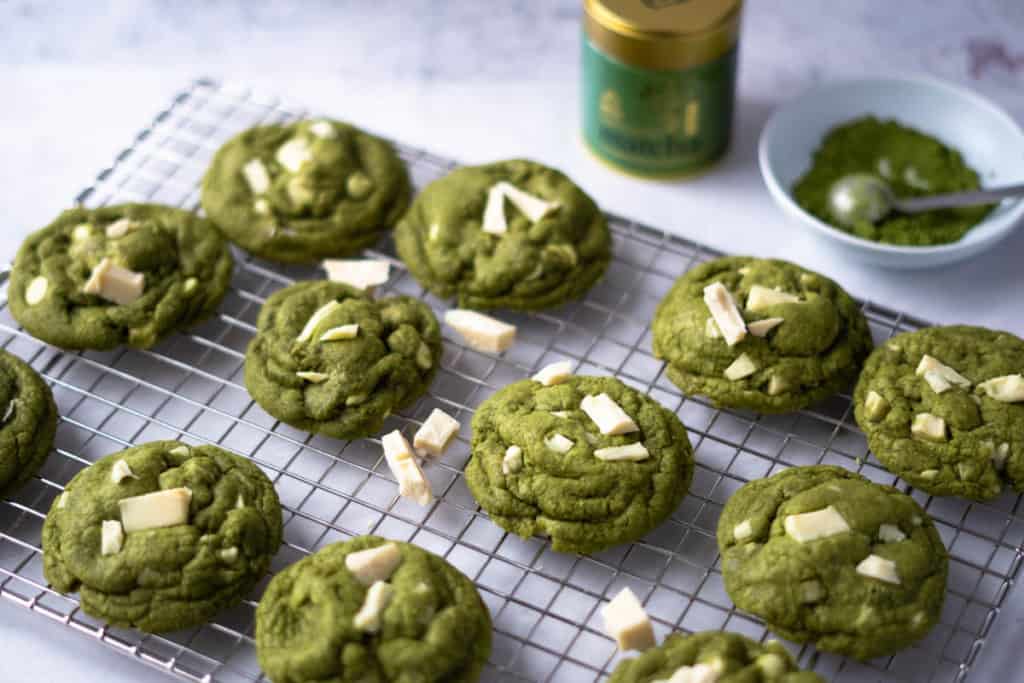
Step 2: Cookies will appear very soft right out of the oven and puffy in the middle. Cool for 5 – 7 minutes on the baking sheet before transferring to a cooling rack. Place a few chocolate chunks on top of your cookies while soft for a prettier look. Cookies will flatten a bit as they cool.
Expert Tips for Making the Best Soft and Chewy Matcha Cookies
These tips will guarantee soft and chewy matcha cookies! Most of these tips are useful in general for baking cookies!
Use fresh matcha
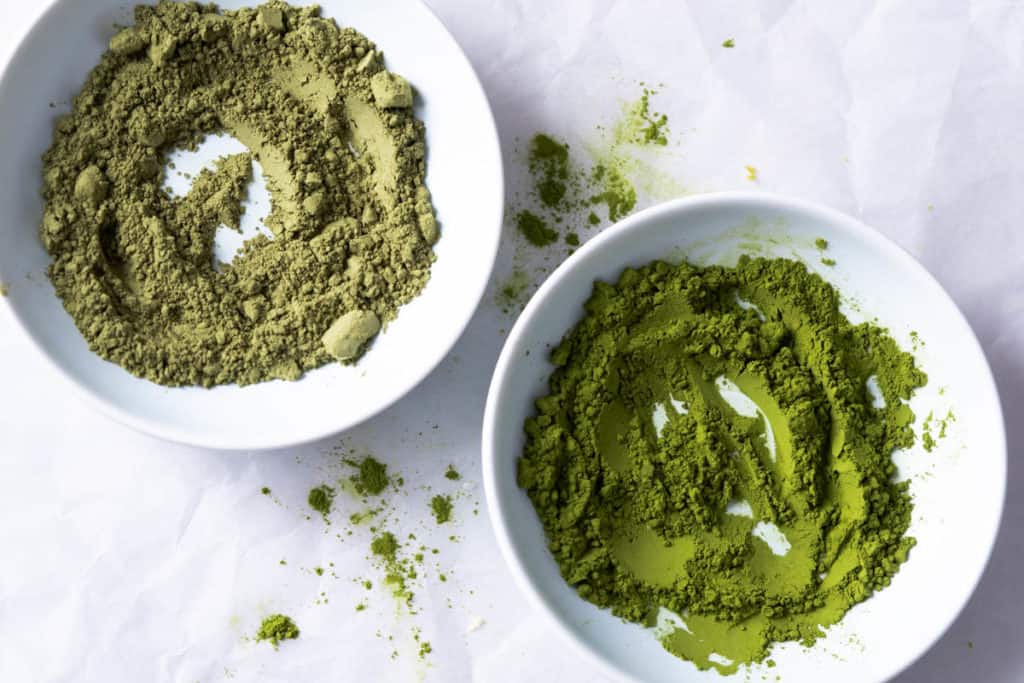
The first batch I made was with matcha past its prime. Matcha oxidizes once you open the package and will lose its flavor and vibrant green color over time. If your matcha powder looks brownish green and smells like hay, it’s no good anymore. Throw it out and get a new one.
Chill your cookie dough
This recipe uses melted butter so chilling is mandatory. The colder your dough is, the less likely they will over-spread and you’ll have thicker sturdier cookies. Chilling also allows the dough to rest allowing the flour better absorb the butter for a less greasy cookie. I recommend chilling this matcha cookie dough for at least 2 hours but ideally overnight. If you’re making the dough on the same day as baking, I keep my prepared pans in the fridge for 10 minutes before baking.
Measure your flour properly using the spoon and scrape method
Properly measuring how much flour you need is super important when baking cookies. A few extra tablespoons can be the difference between a dense cookie from a soft chewy one. Before measuring, fluff your flour with a fork to make sure it’s not overly packed. Spoon out the flour into your measuring cup and scrape the surface flat using the back of a butter knife. Or better, weigh your flour with a kitchen scale. Place your bowl on the scale, recalibrate it to zero and spoon your flour. By scooping out packed flour directly out of the bag, you could be adding an extra ¼ cup of flour in your cookies.
Melt and cool your butter properly
Make sure your melted butter is cooled to room temperature before mixing your cookies. Hot butter will guarantee a greasy cookie and a higher chance of overspreading. I usually place my finger into the butter to make sure it’s not overly warm before using. You can also place a butter knife in your melted butter and it should coat the knife nicely rather than being runny.
Eggs and egg yolk are room temperature
Your eggs and egg yolk should also be at room temperature. Cookie batters don’t like hot or cold ingredients, they’re fickle! Let your eggs sit out or place them in a bowl of warm water for a few minutes.
Let the butter and sugar sit together
Stir the melted butter and sugars together and let them sit together for 5 minutes for better absorption. I find it leads to a less grainy texture. This only applies to melted butter. Softened butter is usually aerated with sugars allowing better incorporation.
Don’t overmix
Once you combine your wet and dry ingredients, gluten formations kick off. By overmixing your dough, you create more gluten and tougher cookies. Stir your dough until your flour is JUST mixed, a few dry streaks are ok since you’re letting the dough rest by chilling.
Use light pans with silicone mats
Light cookie sheets prevent excessive browning at the bottom since dark sheets retain heat and have higher temperatures. For the best cookie results, use silicone baking mats over parchment paper.
Bake in the center rack
Baking in the middle rack yields the best results so I use two 11”x14” baking sheets so I can place them side by side. If your sheets don’t fit side by side, bake one sheet at a time if possible. If not, place them on the top and bottom ⅓ of your oven and rotate halfway through.
Underbake your cookies
The secret to soft and moist cookies is to underbake them. Always take them out of the oven when the centers still look underdone but the edges are crisp. They should be too soft to handle and they will continue to cook on the baking sheets as they cool. This will allow your cookies to stay softer longer and stale less quickly.
Bake a test cookie
If I’m trying out a new recipe, I usually bake a few cookies off the batch to see how they turn out first. Then based on the outcome I make any adjustments to the remaining batter if I can. Check out my troubleshoot tips in the FAQ.
Freezing and Storing Instructions
Store rolled cookie dough balls in a freezer bag and freeze for up to 3 months. Defrost them on your counter for 15-20 minutes to soften up before baking.
Place baked cookies in an airtight container and freeze them for up to 3 months. Defrost on the counter for 30 minutes and microwave for 10 seconds for warm cookies.
I personally prefer to freeze cookie dough and bake how many I want for fresh cookies any time 🙂
Keep chilled cookie dough in your fridge for up to 3-4 days. You can keep baked matcha cookies in an airtight container on your counter for up to 5 days. They stay soft!
Time Saving Tips
- Place your eggs in a bowl of warm water for a few minutes to bring it up to room temperature.
- To cool melted butter quickly, stick it in the fridge for 5-10 minutes.
- Chilling cookie dough might seem like a pain, but it actually allows you to make your cookie dough ahead of time and worry only about baking them the day you need them.
- After about an hour, your dough isn’t as sticky or too hard to handle. Roll your cookies ahead of time and place them back into the fridge till when you need them. Stick them in a freezer bag straight into the freezer for another day.
- Place the pre-rolled cookie dough on your sheets and bake on demand!
Substitutions/Variations
- White chocolate chips – use macadamia nuts or pecans instead of chocolate.
- For a chewier texture, swap out ½ cup of all purpose flour for bread flour.
- Use vegan butter instead of regular butter. I actually haven’t tried this myself so let me know in the comments below if you have!
Let me know in the comments if you tried this recipe. I’m thinking matcha sugar cookies could be next 🙂
Try my lunchbox cakes perfect for gift giving or my super easy banana cake recipe!
FAQ and Troubleshooting Tips
Your cookie dough isn’t chilled enough and your dough is too soft. Or, you probably don’t have enough flour in your batter and/or your butter was too hot when mixing so the excess fat melted and overspread.
If you have dough left, form cookie dough balls that are taller than wider, place it in the freezer for 10 minutes. Make sure your cookie sheets are cool and line them with mats or parchment paper before baking again.
If you’re trying to save already spread-out cookies, take a spoon and push the cookie back to the center and place it back in the oven. Repeat again once done baking. Check out the rest of Sally’s great tips for saving overspreading cookies.
If your cookie dough balls don’t spread at all after baking, there is too much flour. These matcha cookies stay thick but do have some spread. From my experience, the majority of spread happens during the last few minutes of bake time.
Your butter was too hot when mixing or you don’t have enough flour. Add one to two extra tablespoons of flour to your remaining batter to soak up the extra butter.
You might have overmixed your cookie batter or there isn’t enough brown sugar and/or fat. Brown sugar and butter are important elements of moist cookies.
You might have hot spots in your oven or you overbaked them. Reduce your baking time by a few minutes.
Your pans might be too dark. Use a lined baking sheet (either silicone mat or parchment paper). Or try lower the baking temperature in your oven.
You should use culinary grade matcha for baking. Culinary grade matcha is great for baked goods, lattes and smoothies. There are different grades of matcha and the two most common are ceremonial and culinary. Ceremonial grade matcha is of the highest quality and is meant to be consumed by itself whisked in hot water. Culinary grade matcha is meant to be mixed with other things like baking. Because of the higher quality, ceremonial matcha is a brighter, more vibrant color and twice as expensive than culinary matcha. Unless you’re looking for a specific color in your baked goods, I would save the money and just stick to culinary grade matcha.
Because it’s ground into a powder it contains the nutrients from the entire tea leaf, which means there is a greater amount of caffeine and antioxidants than found in typical green tea. It’s been around for centuries in Japan but now it’s everywhere because of the nutritional benefits. The high chlorophyll content makes it rich in antioxidants to stabilize free radicals, reduce cell damage and chronic disease. It can also protect your liver, prevent cancer, promote heart health and even help you lose weight (ok maybe not in cookie form).
Soft and Chewy Matcha Cookies with White Chocolate
Equipment
- 3 mixing bowls (small, medium, large)
- 1 silicone spatula
- 1 hand whisk (or electric mixer)
- measuring cups
- measuring spoons
- kitchen scale (optional but highly recommended)
Ingredients
- 2¼ cups all purpose flour (280 g)
- 2 Tbsp. matcha powder (culinary grade or better) (Note 1)
- ½ tsp baking soda
- ¼ tsp baking powder
- ½ tsp sea salt (or ¾ tsp coarse kosher salt) (Note 2)
- ¾ cup unsalted butter (melted, cooled to room temp.) (170 g or 6 oz.) (Note 3)
- ½ cup granulated sugar (100 g)
- ½ cup brown sugar (packed light or dark) (100g)
- 1 large egg (room temperature) (Note 4)
- 1 large egg yolk (room temperature)
- 1 tsp vanilla extract
- ¾ cup white chocolate chunks (or chips) plus more for decorating
Instructions
Prepare Your Butter and Eggs
- On the stovetop or microwave-safe bowl, melt your butter. Set aside to cool to room temperature.
- Whisk your large egg and egg yolk together and set aside.
Mix Dry Ingredients (flour mixture)
- Measure your flour (using the spoon and scrape method) in a medium bowl. (Note 5)
- Whisk in matcha powder, salt, baking soda and baking powder. Make sure all ingredients are mixed well with no lumps.
Mix Wet Ingredients
- In a separate large mixing bowl, combine melted butter, white and brown sugars and whisk until smooth and creamy. It should change a little lighter in colour – about a minute.
- Let the butter and sugar sit together for about 5 minutes for better absorption.
- Add the whisked egg and egg yolk and vanilla extract. Whisk thoroughly for 2-3 minutes. Mixture will be light, smooth and glossy.
Combine and Chill Your Dough
- Combine your dry flour mixture into your large bowl of wet ingredients. I like to do this in two rounds to avoid overmixing. Fold the ingredients gently together using your spatula and make round sweeping motions towards the centre. The dough forms to be a bright green colour, soft and sticky (like playdoh but stickier).
- Stir in the chopped white chocolate chunks or chocolate chips.
- Cover your bowl and place it in the fridge to chill for 2-3 hours or overnight.
Roll and Bake Your Cookies
- Preheat your oven to 325°F/165°C.
- Take out your bowl from the fridge and roll it into 16 equal cookie dough balls (cookie scoop or just your hands). Each dough ball should be about 2.5 Tbsp (55 – 60 g) or 1.75 – 2 inches wide. If the dough is chilled longer or overnight, it will be quite hard, place it out for 10 minutes to warm up. The warmth from your hands will soften up the cookie dough. (Note 6) (Note 7)
- Place the balls of cookie dough on a light-coloured baking tray lined with parchment or silicone baking mats (preferred). Place them 2 inches apart.
- Place your baking tray in the preheated oven and bake cookies for 10-12 minutes or until the edges are lightly browned but the centers are still soft. If you’re using two baking sheets and they both cannot fit in the middle rack, place them on the top and bottom ⅓ of your oven and rotate halfway through.
- Cookies will appear very soft right out of the oven and puffy in the middle. Cool for 5 – 7 minutes on the baking sheet before handling them and transfer to a cooling rack. Place a few chocolate chunks on top of your cookies while soft for a prettier look. Cookies will flatten a bit as they cool
Notes
Notes
Note 1: For a lighter matcha flavour, reduce matcha powder by 75% to 1.5 Tbsp. Ceremonial grade can also be used but usually its more expensive and meant to be consumed by itself. Note 2: Sea salt is more finely ground than kosher salt so less is needed since it’s saltier by volume. Note 3: Make sure to cool your butter properly to room temperature before mixing. Hot butter will guarantee a greasy cookie and a higher chance of overspreading. Test with your finger or place a butter knife in your melted butter and it should coat the knife nicely rather than being runny. Note 4: Let your eggs sit out to warm to room temperature or place them in a bowl of warm water for a few minutes to speed up the process. Note 5: Measure your flour properly with the spoon and scrape method. Before measuring, fluff your flour with a fork to make sure it’s not overly packed. Spoon out the flour into your measuring cup and scrape the surface flat using the back of a butter knife. Or better, weigh your flour with a kitchen scale. Note 6: For extra thick centers, roll your cookie dough balls taller than they are wider. Note 7: If you make smaller or bigger cookies, make sure to adjust the bake time to avoid overcooking.Success Tips
- Use light-coloured baking trays lined with silicone mats or parchment paper.
- Bake your cookies on the center rack or one tray at a time for best results. Use the top and bottom 1/3 of your oven for two trays and rotate halfway.
- Underbake your cookies. Always take out your cookies when they still look soft and moist in the middle. They will continue to cook while cooling.
- If time permits, bake a test cookie to see how it turns out and make adjustments if needed. See troubleshooting tips.
Troubleshooting Tips
- Cookies are overspreading: The cookie dough is too soft. Make your dough balls taller than wider. Place in the freezer for an extra 10 minutes or refrigerate longer before baking.
- Cookies aren’t spreading: If your cookie dough balls don’t spread at all after baking, there is too much flour. These cookies stay thick but do have some spread. From my experience, the majority of spread happens during the last few minutes of bake time.
- Cookies are too greasy: Your batter might not have enough flour or your butter was too hot. Add an extra 2 tablespoons of flour or cool your butter more.
- Cookies are dense: Your batter might have too much flour, make sure you have properly measured your flour by the scoop or spoon method or by weighing it.
- Cookies are hard and dry: They’re overbaked. Reduce bake time by a few minutes.
- Cookies are browning too much: Use silicone baking mats over your baking trays (dark trays will brown cookies more).
Freezing Instructions
Freeze rolled cookie dough balls in a freezer bag and keep them for up to 3 months. Defrost them on your counter for 15-20 minutes to soften up before baking. Place baked cookies in an airtight container and freeze them for up to 3 months. Defrost on the counter for 30 minutes and microwave for 10 seconds for warm cookies.Storing Instructions
Keep baked cookies in an airtight container on your counter for up to 5 days.Substitutions/Variations
- White chocolate chips – use macadamia nuts or pecans instead of chocolate.
- For a chewier texture, swap out ½ cup of all-purpose flour for bread flour.
- Use vegan butter instead of regular butter.
Tanya S
My family says these are the most delicious cookies I’ve ever made 🙂
Ellen
Aww that’s amazing to hear Sandy! So happy your family enjoyed them and thank you for trying out the recipe! Much appreciated!
Desy Guan
I tried this cookies this Christmas and they taste amazing! My husband ate 6 of those in just one sit and he is not even cookies fans. Just one question, what will happen if I reduced the granulated sugar or even not using it at all? I baked this using brown sugar and granulated sugar as prescribed in the recipe but I think it’s still too sweet a bit.
Ellen
Hi Desy! Thanks for trying out the recipe and I’m so glad you and your husband enjoyed them. I would still recommend keeping the white sugar in the recipe since it helps with tenderness and spread. I would try reducing it to 1/4 cup to see how it changes the cookie. I haven’t tried this myself but I’d suspect the cookies won’t spread as much and stay thicker. You can also lessen the amount of white chocolate chips since they’re sweeter than semi sweet ones to begin with. Let me know how it goes!
June
I ran out of flour so I used almond flour. It was dense and didn’t cook after 15 mins in the oven. It tasted like a lava cake which was yummy lol do you have any recommendations on how to bake it better?
Ellen
Hi June, I definitely would stick with all purpose flour for this recipe since almond flour per volume is way denser than regular flour. If you’re looking to make it gluten free, I’d try gluten free flour first since it will behave much more closely to regular flour. Hope that helps!
Qaireena
Hi, I want to ask something. For scooping, if I use the ice cream scoop will it be like thick or it will be still spreading out?
Qaireena
Also about the baking one, If i make like 2-3 batch which means, if i don’t have enough space instead of do what you said, can i bake it like 1 per 1? Does it effect the dough if I didn’t bake it with the first batch?
Gabrielle
I’m no baker and this was an absolute success! Your tips and tricks were so efficient – really appreciate it!